I have always wanted to make a duct tape wallet. Cha-Cha-Cha. Life goal? Complete.
My friend Rachel introduced me to Collage. A super cute little craft store with a bunch of classes. And this was the latest one: making a simple duct tape wallet. It even has a little ID card holder!
I wouldn't call myself a duct tape wallet making natural by any means. It was kind of tricky. (Duct tape is super sticky!)
Check out Collage's classes here if you're local and interested! Or check out some You Tube videos on how to make a duct tape wallet. All you need for this wallet is 2 rolls of duct tape, a cutting board, x-acto knife, acetate (clear plastic for ID pocket) and a bit of patience.
Stay crafty! Have a great week honeybees.
Showing posts with label craft. Show all posts
Monday, October 7, 2013
Monday, October 22, 2012
Accessorize Me ♥
My friend Sarah created this fabulous little dino necklace. He is painted a pretty silver color and hangs on a necklace with silver wire
Tuesday, September 18, 2012
Make & Take ♥ A new display
A much improved display at my second show... we were much more successful also. I'm looking for lots of shows to book during the holiday season (now - christmas). I already have a total of 7 lined up so I'm doing way better than last year. :) I'm going for smaller shows with a lower table fee so I shouldn't have to worry about selling enough to always break even and hopefully make some profit.
We found a shoe display at The Container Store that I'm using to display the hats. It's perfect and even spins. It's regularly priced $29.99. I also purchased some stacking bins to add some organization to my table. They are $5.99 each and super light weight to add some organization and more room for the display.
My friend Sarah and her mom Janet were also vendors! It's going to be a very busy Christmas season will all these bazaars. I'm excited! :)
Sunday, September 9, 2012
Make & Take ❤ Halloween-tastic Card
My first HALLOWEEN craft. This is an accordion style card decorated with lots of scary critters! I think it's too pretty to mail. So it's going to decorate my desk. :)
Monday, June 11, 2012
Make & Take ❤ A pretty box
I made this little pretty decorative box at a craft social. You use a tin can and cover the outside and inside with contact paper. It is a little tricky to get the contact paper smooth on the inside. Then you can use double-sided tape with ribbon to decorate the rim of the lid and the bottom of the lid. The top of the lid is decorated with a big paper bow, flowers, lace, ribbon and mesh! I loved the contact paper which was very fun and easy to work with. This could be a fun project to do with friends or a cute favor! Have you ever made pretty decorated boxes just for the sake of being crafty?
Sunday, March 25, 2012
Make & Take
A navy hat with white bow ❤
This is a super easy navy blue hat created on a round loom (available at craft stores). I used a chunky yarn which works best for hats on the round loom (unless you want to double your yarn). This hat is made out of Loops & Thread Charisma yarn which is available at Michaels. Then I created a simple white bow and sewed it onto the hat. To make the bow, I crocheted a long rectangle then doubled the rectangle and wrapped yarn in the middle to create a bow shape.
Labels:
bow,
craft,
hat,
knit,
knitted hat,
navy blue,
round loom,
white,
yarn
Tuesday, March 20, 2012
Make & Take
A hat with felt rosettes ❤
This is a super easy teal hat created on a round loom (available at craft stores). I've found it creates a much nicer hat if you use a chunky yarn. This hat is made out of Loops & Thread Charisma yarn which is available at Michaels. Then I created three felt rosettes with black leaves and sewed them onto the hat.
Monday, March 19, 2012
Make & Take
Card making fun with transparency ❤
❤Use a corner punch design on each corner of a card stock square
❤You need a design copied onto transparency paper
❤Use alcohol ink, available at craft stores, this is a quick drying ink to use on the transparency
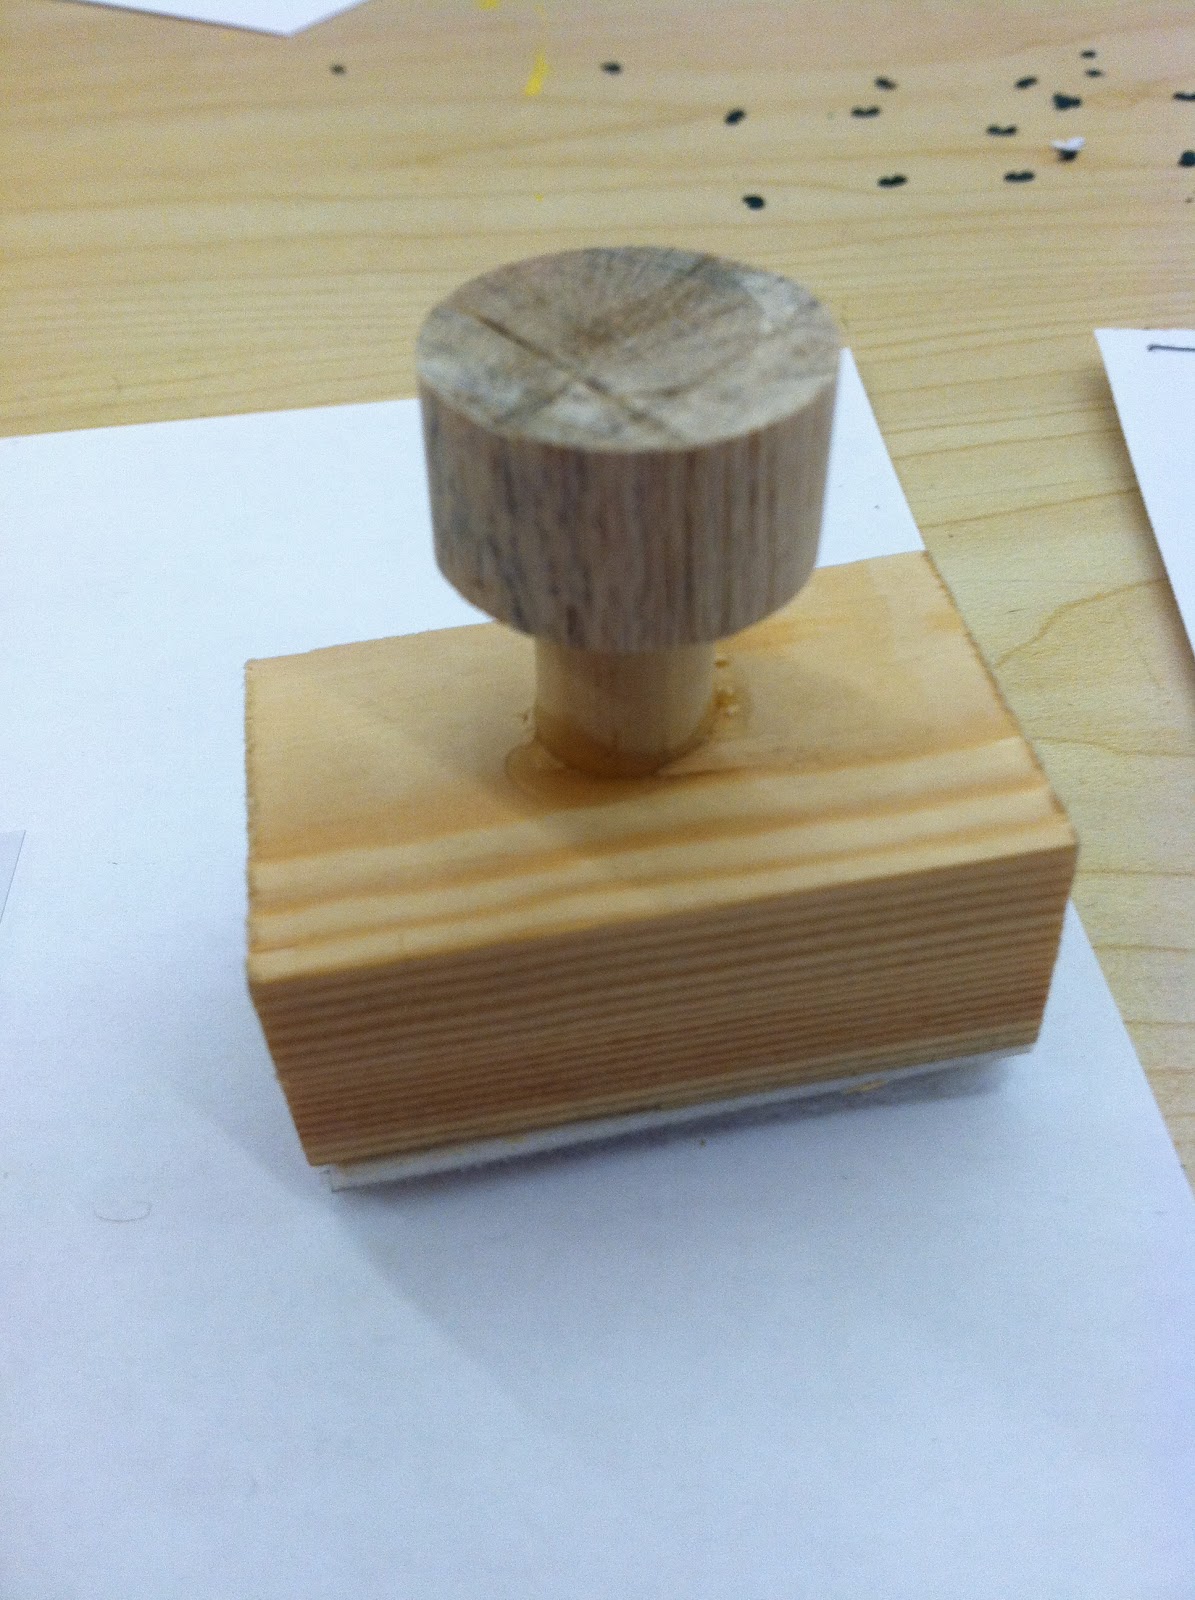
❤Use a felt stamper
❤Put a few drops of the alcohol ink on the felt stamper
❤Stamp away and cover the entire design, it will dry in less than a minute so work quickly
❤Create a design using glitter glue
❤Use a little Scotch Quick-Dry Tacky Adhesive around the edge of the circle design
❤Press onto a piece of paper and let dry for a while under a book
❤While your transparency is drying, create a card with three layers of card stock cut into squares
❤Stamp a greeting on the inside of your card
❤Cut our your transparency design after it is dry and glue onto the front of the card. Add a few crystal accents on the front of the card and PRESTO, you have a lovely Celtic looking card ready for St. Patty's day! I made this card at my local Jo-Ann store at a card making class with the fabulous instructor Veronica.
Wednesday, March 14, 2012
Make & Take
The paper box ❤
A little paper, a little glue and presto... one delightful little box. I made this one called an impossible box at a craft class at Jo-Ann Fabric. You make the box out of double-sided card stock. Paper flowers with bling add some dazzle!
Labels:
box,
card stock,
craft,
craft class,
flower,
flowers,
Jo-Ann Fabric,
paper,
paper box
Subscribe to:
Posts (Atom)
Popular Posts
-
It was a hot weekend at the Willamette Country Music Festival … and I only hope there is something about the heat that made attendees c...
-
Cheering. Blazers. PDX fun. ROLO. Last night was Stanford Alumni night at the Blazers game in Portland, OR. My friend Marie and I hea...
-
I took a workshop put on by Portland Bloggers where we worked with some amazing photographers like Marge Jacobsen on our photography ski...


